【React入門】初心者必見!Reactの環境構築

目次
Reactとは
ReactとはJavaScriptを使ったフロントのフレームワークです。
仮想DOMへのレンダリングでの開発が行われるので、処理の高速です。
また、関数をコンポーネントを使って無駄のないプログラムを書いていく言語で人気のフレームワークの一つです。
Reactの環境構築手順
スポンサードサーチ
Nodeをインストール

nodeがない方はまずはインストールしましょう

 https://god48.com/node-install
ReactでProjectを作成
npx create-react-app アプリ名
kami@kami dev % npx create-react-app react_test

Creating a new React app in /Users/kami/Desktop/work/dev/react_test.

Installing packages. This might take a couple of minutes.
Installing react, react-dom, and react-scripts with cra-template...


added 1425 packages in 2m

229 packages are looking for funding
  run `npm fund` for details

Initialized a git repository.

Installing template dependencies using npm...

added 74 packages, and changed 1 package in 15s

238 packages are looking for funding
  run `npm fund` for details
Removing template package using npm...


removed 1 package, and audited 1499 packages in 1s

238 packages are looking for funding
  run `npm fund` for details

6 high severity vulnerabilities

To address all issues (including breaking changes), run:
  npm audit fix --force

Run `npm audit` for details.

Created git commit.

Success! Created react_test at /Users/kami/Desktop/work/dev/react_test
Inside that directory, you can run several commands:

  npm start
    Starts the development server.

  npm run build
    Bundles the app into static files for production.

  npm test
    Starts the test runner.

  npm run eject
    Removes this tool and copies build dependencies, configuration files
    and scripts into the app directory. If you do this, you can’t go back!

We suggest that you begin by typing:

  cd react_test
  npm start

Happy hacking!
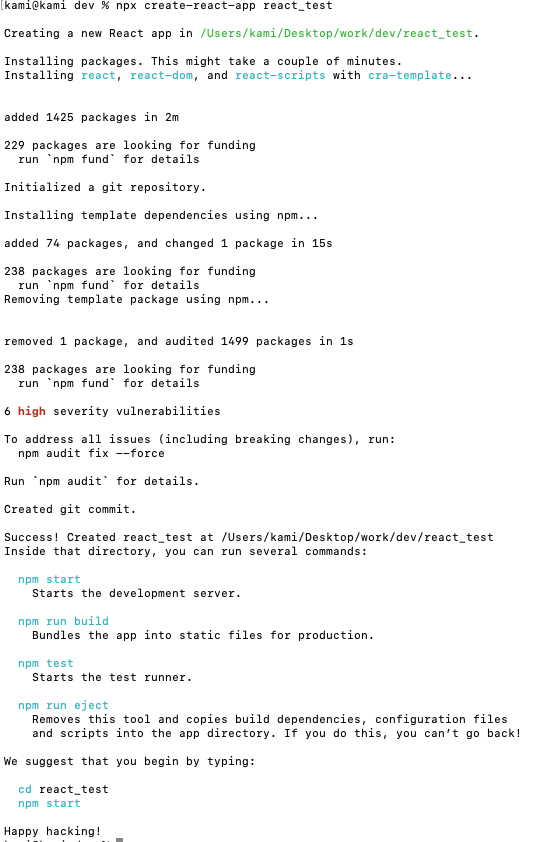

Happy hacking!が表示されればReactプロジェクトの作成成功です。
Reactのプロジェクト構造
App名
┣ node_modules
┣ public
┣ src
.gitignore
package-lock.json
package.json
README.md
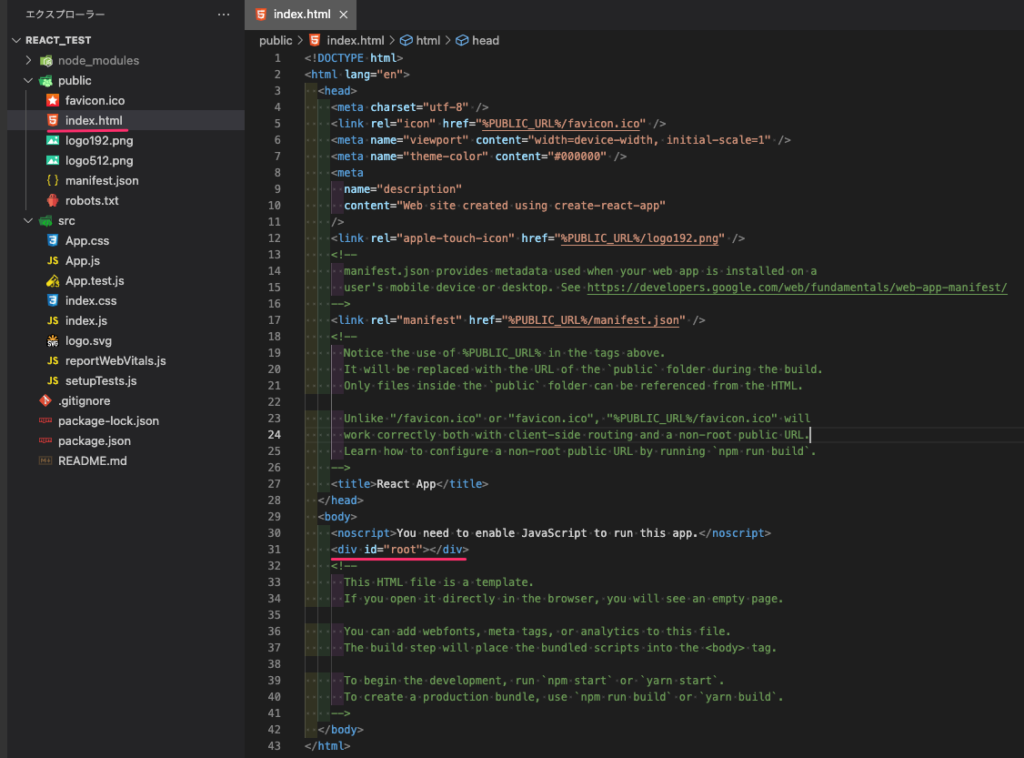
public/index.html
index.htmlでポイントは「body」タグ内にある「id="root"」です。
このidにReactファイルを読み込ませるようにプログラムを書いていきます。
<!DOCTYPE html>
<html lang="en">
  <head>
    <meta charset="utf-8" />
    <link rel="icon" href="%PUBLIC_URL%/favicon.ico" />
    <meta name="viewport" content="width=device-width, initial-scale=1" />
    <meta name="theme-color" content="#000000" />
    <meta
      name="description"
      content="Web site created using create-react-app"
    />
    <link rel="apple-touch-icon" href="%PUBLIC_URL%/logo192.png" />
    <!--
      manifest.json provides metadata used when your web app is installed on a
      user's mobile device or desktop. See https://developers.google.com/web/fundamentals/web-app-manifest/
    -->
    <link rel="manifest" href="%PUBLIC_URL%/manifest.json" />
    <!--
      Notice the use of %PUBLIC_URL% in the tags above.
      It will be replaced with the URL of the `public` folder during the build.
      Only files inside the `public` folder can be referenced from the HTML.

      Unlike "/favicon.ico" or "favicon.ico", "%PUBLIC_URL%/favicon.ico" will
      work correctly both with client-side routing and a non-root public URL.
      Learn how to configure a non-root public URL by running `npm run build`.
    -->
    <title>React App</title>
  </head>
  <body>
    <noscript>You need to enable JavaScript to run this app.</noscript>
    <div id="root"></div>
    <!--
      This HTML file is a template.
      If you open it directly in the browser, you will see an empty page.

      You can add webfonts, meta tags, or analytics to this file.
      The build step will place the bundled scripts into the <body> tag.

      To begin the development, run `npm start` or `yarn start`.
      To create a production bundle, use `npm run build` or `yarn build`.
    -->
  </body>
</html>
src/App.js
App.jsではheaderを記述しています。
classの書き方
<div className="App">
imgの書き方
<img src={logo} className="App-logo" alt="logo" />
aタグの書き方
        <a
          className="App-link"
          href="https://reactjs.org"
          target="_blank"
          rel="noopener noreferrer"
        >
import logo from './logo.svg';
import './App.css';

function App() {
  return (
    <div className="App">
      <header className="App-header">
        <img src={logo} className="App-logo" alt="logo" />
        <p>
          Edit <code>src/App.js</code> and save to reload.
        </p>
        <a
          className="App-link"
          href="https://reactjs.org"
          target="_blank"
          rel="noopener noreferrer"
        >
          Learn React
        </a>
      </header>
    </div>
  );
}

export default App;
最後は関数名をexportしています。
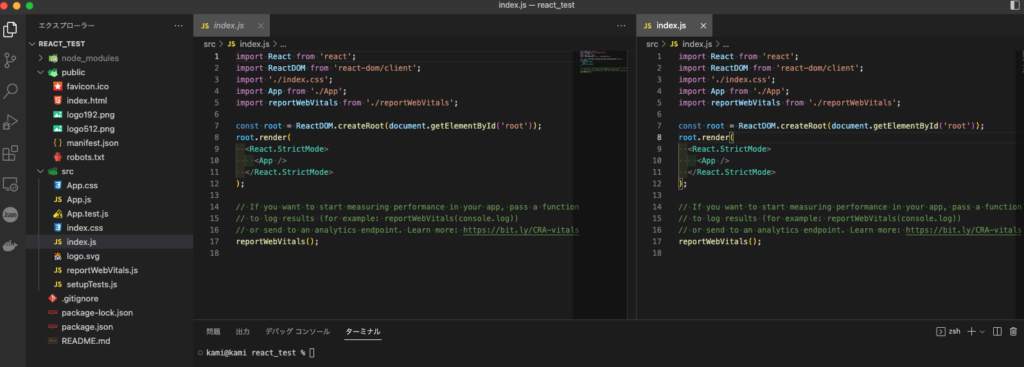
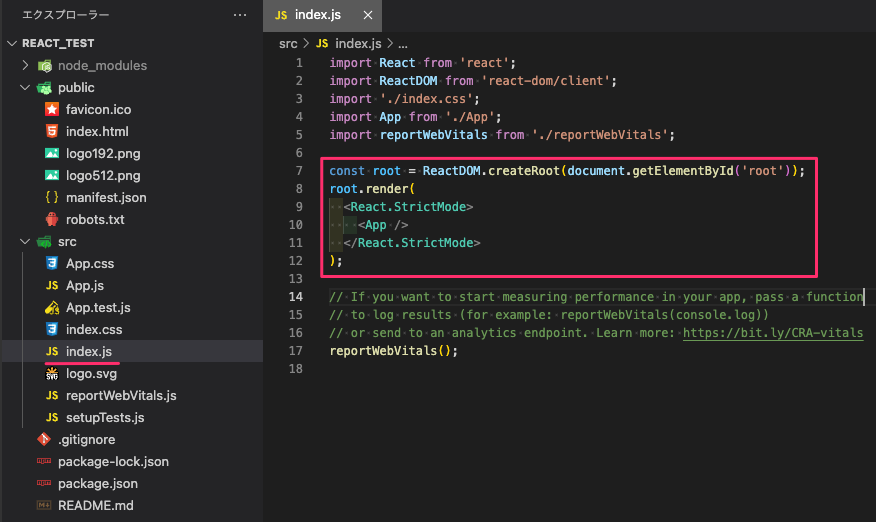
src/index.js
index.jsでは、React要素をルートをDOMノードにレンダーするには、まず ReactDOM.createRoot() に DOM 要素を渡し、root.render() に React 要素を渡します。
react-domとは
Reactの仮想DOMをブラウザのDOMに反映させるライブラリです。
import React from 'react';
import ReactDOM from 'react-dom/client';
import './index.css';
import App from './App';
import reportWebVitals from './reportWebVitals';

const root = ReactDOM.createRoot(document.getElementById('root'));
root.render(
  <React.StrictMode>
    <App />
  </React.StrictMode>
);

// If you want to start measuring performance in your app, pass a function
// to log results (for example: reportWebVitals(console.log))
// or send to an analytics endpoint. Learn more: https://bit.ly/CRA-vitals
reportWebVitals();
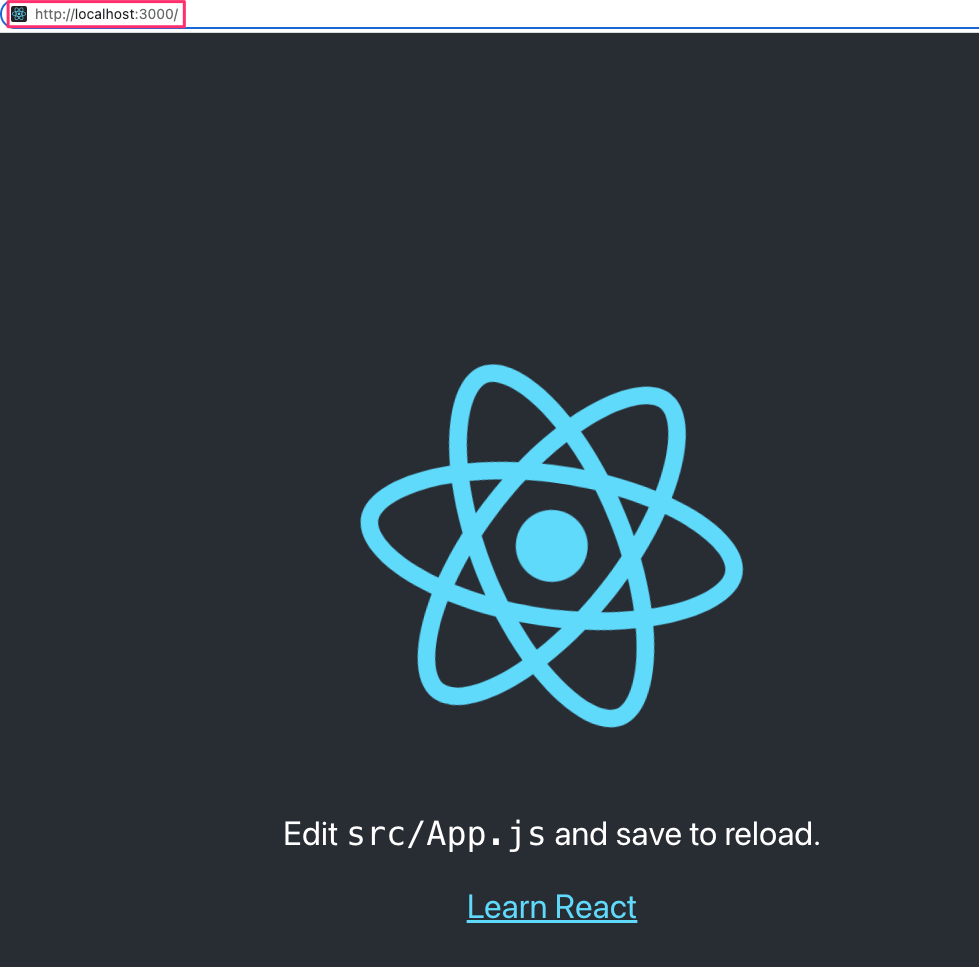
Reactでローカルサーバーを起動
カレントディレクトリをApp名に変更して「npm start」コマンドを叩きます
cd App名
npm start
※npmのscriptsコマンドはpackage.jsonのscriptsに記述されています。
上記、ポート番号でReact開発のローカルサーバーが起動を確認できます。